I animate and render what the projector will playback and then project that animation back on the facade model, that has a similar texture to the real building, to simulate what it will look like on site.
The first animation has three statues moving their arms. After starting the rendering process I went for a walk (for those new to the blog that’s what the name means render + walk because you can’t do much else on the computer while rendering). It occurred to me that when this is projected onto the building, the statue arms will be quite a distance from the actual statue due to the facade’s depth. This isn’t much of an issue when looking at the building from front-center especially near the projector, but off-axis I felt like it may suck.
So I rendered a view off-axis to check.
I didn’t like it for two reasons. One, my original hypothesis was correct and the arms are pretty far away. This is an issue for about a third of the crowd thanks to the trees that force the audience towards the center of the viewing area, but I still don’t like it. The other reason is that any illumination on the actual statues makes them stand out as statues so I feel like we won’t be able to really remove them like I hoped. The side view does look cool even without illumination on the sides of the pillars and arches. It’s possible to project onto them too, but beyond this project’s budget.
So I created a new animation. This is better in terms of making it so the statues are seen when I want them to be seen. However, there is a moment when I have the statue “niches” rise up behind them, but it’s too late, they can already be seen. The lesson is that as parts of the building are highlighted or animated they need a strong silhouette – subtlety will be lost as soon as there is any light on them.
I’ve left the exterior lanterns, doors, and windows their natural color, which is dark, on the projection model for now. It is our goal to cover those with a material that reflects light better.
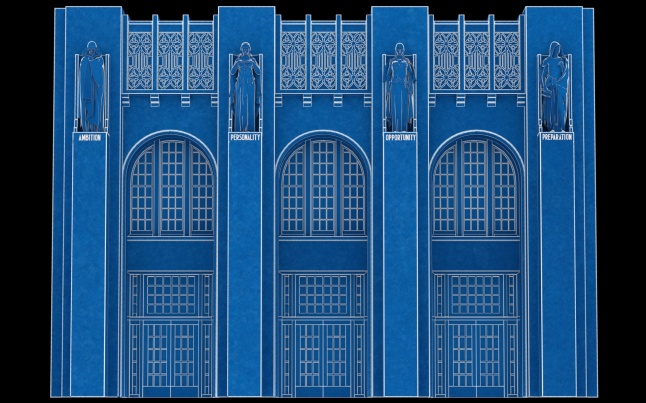
Here’s a fun experiment… A little bit of depth shading on a blueprint.
Geek stuff warning
When I was preparing the model to simulate the projection on the building I found that some of the proportions of the statues were off by too much to let go. Thanks to some new photos I took of the building I had more modeling work to do to get it right. I had to spend some time moving parts of the statues around until they properly aligned with the real statues. I also tweaked the building, windows, and doors a little. Was a one step forward, two steps back moment, but it looks a lot better now and I have a lot more confidence in the projection.
The animations above were 750 frames each. Rendering them and then rendering the projection simulation was 4500 frames. Plus some re-rendering sections after deciding to make some tweaks. I use two computers to render. One is a Retina iMac and the other is a custom-built Linux/Windows PC. The iMac renders using its CPU (4 CPU cores/8 hyperthreaded cores) and the PC renders using two Nvidia GPUs. In some cases the PC can render four or more frames for every one the iMac can render because the GPU acceleration is so great.
Unfortunately/fortunately the Blender Cycles developers have been working hard on the GPU acceleration including, BTW, developers at AMD working on making it so Cycles is not limited to Nvidia GPUs. I say unfortunately because on one of the animations I found the PC Cycles render was crashing every 40 frames or so. It’s a sad morning when you see that the faster computer hadn’t been rendering for the last 6+ hours…
I don’t have time to troubleshoot the issue. It’s a mix of Blender/Cycles and Nvidia software and it’s not that bad in the grand scheme of things. To deal with it I decided to dust off a python script I wrote several years ago for a compute cluster we had at UCA. It created a job script for the distributed computing software. I was able to simplify it quite a bit and have it spit out a shell script (like a batch file for you Windows weirdos) that I could run so that Blender would render each frame as a new job rather than one job rendering all of the frames. Essentially it changes this one line that I manually type in a terminal:
blender -b blendfile.blend -a
(this tells blender to start without a UI to save resources and then render the animation based on the project’s settings)
To this listed in a shell script that I start by typing render.sh:
blender -b blendfile.blend -f 1
(render frame 1 based on the project’s settings and then close Blender)
blender -b blendfile.blend -f 2 (then render frame 2)
blender -b blendfile.blend -f 3 (then render frame 3)
Works like a charm. I could make the python script do a lot more tricks, but for now this is nice.
Last, Blender has a simple method of allowing multiple computers to render the same animation without using a render management application. Set the output to not overwrite and to make placeholders. A computer will look for frame 1 in the folder where the rendered images are saved (the output folder) and if it sees it then it will look for frame 2, etc. When it finds a frame that hasn’t been rendered it will create placeholder image, render, and replace the placeholder with the finished image. Each computer can claim a frame as they go, which is nice since one computer renders so much faster than the other. After Effects works this way too if you use multiple computers to render.
Since I’m not using a management system there is no check to make sure a frame actually gets rendered properly so I also wrote a python script back in the day that looks for frames with zero bytes to tell me if there were some bad frames. I might automate that with my other script, but I don’t want to dedicate the time to that right now. The macOS Finder does a nice job of listing “zero bytes,” which stands out in a list, or listing by size, so I’ve manually deleted bad frames too. To render those bad ones after deleting I just run the first command with the “-a” to find missing frames and render.

You must be logged in to post a comment.